Monday, June 27, 2011
I've made some adjustments
I've learned a lot with this kit and I've made changes to the elements, I hope you will enjoy them and if you have downloaded the previous version, please replace it with this one. You will have 2 weeks to do so for free, then the link will be inactive.
Thanks for all the response, this kit is no longer offered free.
Saturday, June 25, 2011
layouts using "the colors of my SUMMER" kit
I participating in a Design Race over at Digi Scrap Connect called the Design Factor. We will be designing a new kit every week for 6 weeks. I'm still working on my packaging I'm not satisfied with it but hope at the end of 6 weeks I will have figured it out. I will post a link here for you to download the kits as I make them. They will be free for 2 weeks then the link will expire. Please pass along this to your friends and have them follow me, I'd sure appreciate the traffic.
Friday, June 24, 2011
This is the first digi kit created for the Design Challenge race. There will be a new challenge every week for 6 weeks. The biggest challenge for me was figuring out where to upload the images and links to "cross the finish line". Hopefully, next week's uploads won't be as hard.
You can download this kit free for the next 2 weeks PamlaKlenczar_Summer_racechallenge1.zip
Monday, June 6, 2011
Japan Relief Blog Hop
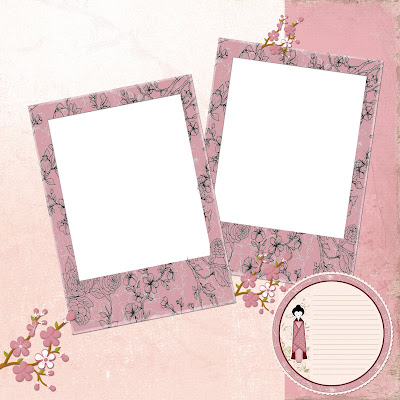
Click HERE to download Kimono Quickpage. You can support Japan by clicking here and purchasing the complete Kimono Kit which consists of over 50 papers and 35 elements. The kit was a collabrative effort by the class of Art of Digital Design at JessicaSprague.com.
To use this Quick Page: download and save where http://www.blogger.com/img/blank.gifyou can find it.
Open QP in Adobe Photoshop or Elements. Open photographs you wish to use.
Click and drag photos onto QP making sure they are under the QP layer. Then move and resize each photo using the move tool. You can resize photos by holding down the shift key and clicking and dragging photo by corner point. This will keep the photo in proportion. To tilt photo hover move tool around edges of photo until it turns into a half circle with arrows on each end. Hold down left click button and move photo into frame. After you have the photo positioned where you want it, Double click to set the move.
Adding Text: Make sure the QP layer is selected so that your text layer will come out on top of it. Click on text tool, make text choices then click on QP and draw out text box. Type text. Double Click move tool to set text. You can now move the text around.
To go to the next page in the Japan Relief Blog Hop click HERE.
To go to the previous page in the Japan Relief Blog Hop click HERE.
Saturday, June 4, 2011
Ready Set Blog Hop!!!
Tomorrow night at midnight Eastern time, the Art of Digital Design blog hop goes live! There will be freebie quick pages galore, all of them created using papers and elements from Kimono Kit, which is for sale right now at Jessica Sprague's website. Remember, all of the proceeds of the sales will go to the Red Cross to benefit those who suffered due to the earthquakes in Japan. You are able to purchase the kit at 25% off until Sunday, June 5th, midnight estern, after which it will be sold at full price.
There is going to be some wonderful digi sharing going on so hop on over!
Friday, June 3, 2011
Kimono Kit created for Japan Relief
Several Designers from the Class Digital Design at JessicaSprague.com got together and created this kit. All proceeds will go to the relief fund for Japan. Purchase this kit here.
Wednesday, June 1, 2011
Texture in the Garden
Subscribe to:
Posts (Atom)